
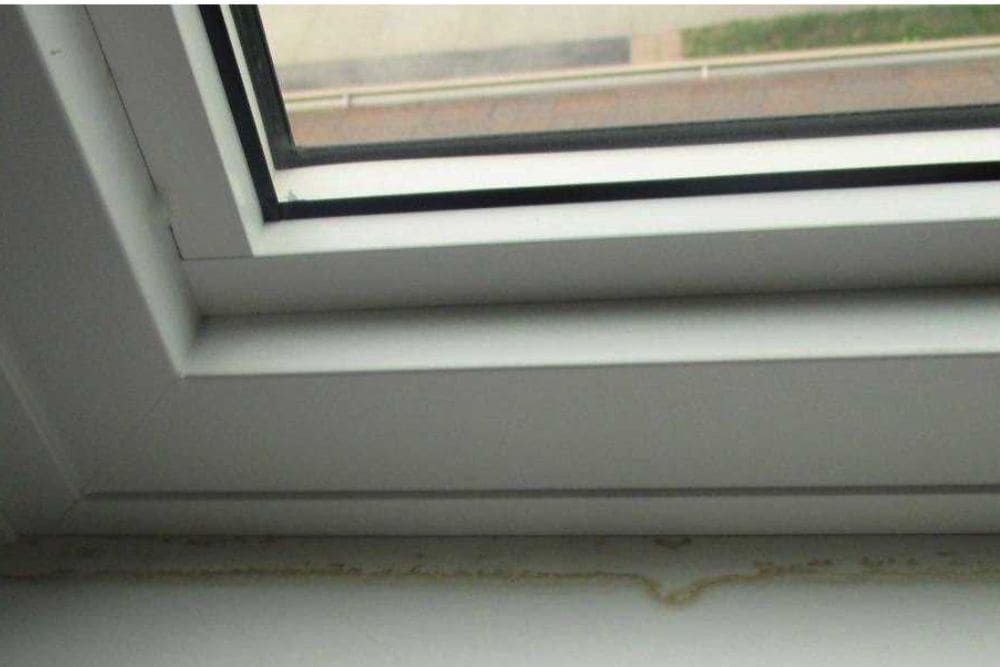
AD | Fortunately it’s not common, but sometimes puddles of water can appear on the windowsill beneath a tightly closed window during or after heavy rain. Normally, a closed plastic window is nearly airtight; it shouldn’t let any water into the room. Obviously, such leaks always have a cause — so let’s take a closer look at why this happens, and what you can do to fix it.
All Possible Reasons for Window Leaks
A window leaking when raining is a frustrating issue many homeowners encounter. Fogging or small droplets on the glass are usually condensation moisture from humid indoor air that forms when it comes into contact with the cold surface of the glazing unit. When the condensation is heavy, droplets can run down and even pool at the windowsill. But sometimes, water may be entering from outside.
If water appears during rain, and that is a strong, slanted downpour, the cause may be one of the following:
- The sashes were on micro-ventilation or slightly open. Next time, before stormy weather, check the sashes are fully closed and handles pointing straight down;
- The sash locking cams are in a loose position — a setting often called summer mode. That means even when fully closed, sashes don’t seal tightly and may let in rainwater;
- The seal of the sash or glazing unit is leaking water because of lost elasticity or visible cracks, dents, or tears. This frequently happens with older windows: the average lifespan of the sealing rubber is about 10 years, after which it might dry out, crack, flatten, etc. However, improper use can cause the material to degrade even sooner;
- In most cases, water that enters the rebate of the sash or glazing unit is drained to the outside through weep holes in the profiles. However, drainage doesn’t always handle the incoming moisture during heavy rainfall or when it gets clogged up with debris. This results in leakage of the window frames and a pool of puddles at the sill;
- The seal of the window can also be compromised due to sash sag or hardware failure, which enables rain to seep through loose contact points;
- Water may also enter through gaps between the window frame and the wall slopes where the mounting seam has deteriorated over time, been seriously damaged, or was originally installed with defects.
Sometimes, it’s difficult to find out the exact cause or fix the issue yourself with just a simple inspection. That’s when it’s best to contact the installation company.
What You Can Actually Do Yourself
If you have a window leaking in a room, on a balcony, or in a loggia, the problem can sometimes be resolved on your own, without the need for professional tools. Here’s how:
Adjust the Locking Mechanism for Optimal Pressure
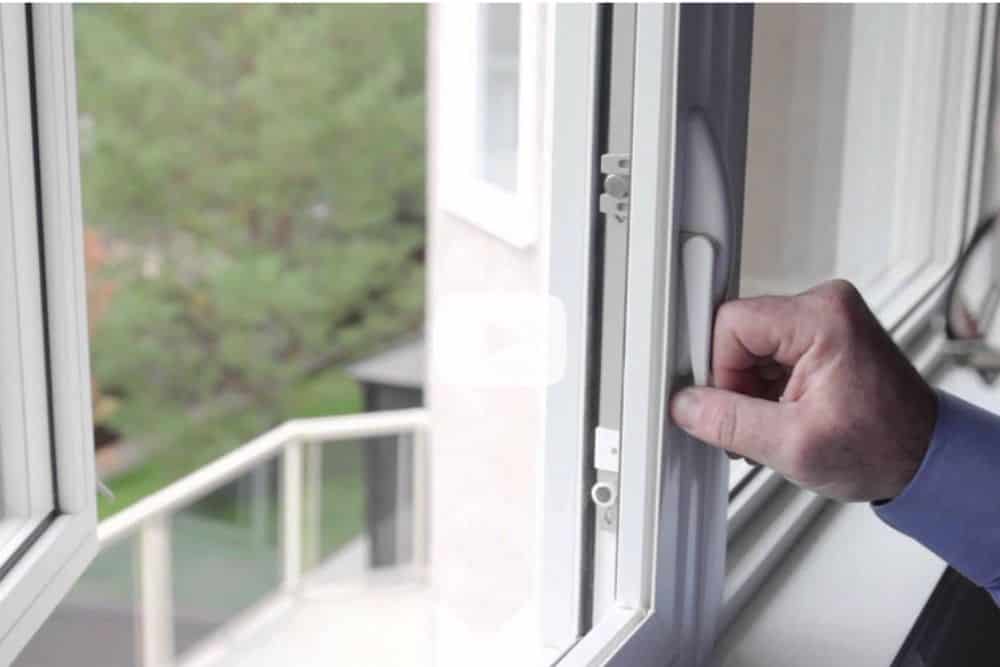
You can easily fine-tune the sash pressure by adjusting the locking cams on the sash edge. Round cams should be set with the mark facing up or, if there’s no mark, at an average midpoint between the two extremes; oval cams should be angled at 45 degrees. The seal should be snug but not overcompressed: the handle should turn to the “closed” position with light resistance, firmly and completely, and a sheet of paper clamped in the sash should pull out with effort but not tear.
If the pressure is too weak, shift the round cams toward the room; if it’s too strong, shift them toward the street. For oval cams, rotate closer to horizontal to increase pressure or closer to vertical to reduce it. If you can’t get a good result, the sash may be sagging. Minor sagging can be corrected by adjusting screws on the hinges; in the worst cases, it’s best to call a specialist.
Replace the Seal
You can replace the seals in the sash yourself: just select the correct seal model for your profile brand and system, remove the old rubber, and install the new seal into the profile groove. Start the installation from the centre of the top horizontal section, pressing into the groove a little with light tension, trimming corners gently. Then close the joint as tightly as possible without gaps. Cut the seal with a little margin to allow precise fitting.
Clean the Drainage Holes
Drainage holes can be found in rebates both at the top and at the bottom of window frames and sashes, as well as at the bottom of the frames from the outside. Over time, dirt may gather there, blocking the hole. Cleaning of the rebate itself is then necessary: for example, with a vacuum cleaner fitted with an appropriate nozzle. You can clean the holes themselves with a piece of wire or another metal tool. Carry out this cleaning 1–2 times a year. This prevents moisture accumulation inside the window profile.
Going from a Window Leaking to a Watertight Window
The condition of hardware and seals, drainage holes, and locking mechanisms should be regularly monitored to avoid the possible leaks through your windows over time. And it’s best to steer clear of frequent adjustments, especially that so-called winter mode, which applies maximum pressure to the sash and leads to premature wear of both the seal and the hardware.
* This is a collaborative post – please see my Disclaimer.

Leave a Reply