
AD | When it comes to updating or bringing beauty to your home, painting is one of the quickest and easiest ways to do it. But before you can begin rolling out the paint, your walls need to be clean. Cracks, holes, and other types of wall damage will make your paint job appear unprofessional, rough, and could even point to more serious problems. Whether it’s nail holes from hanging photos, cracks caused by moving foundations, or a broken pipe, if you want your walls to look professionally painted, you need to prepare them first. These are some of the most common forms of wall damage and tips on how to repair them, so you can have your home looking its best in no time.
4 Common Types of Wall Damage
Before you can begin to repair your walls, you need to know what damage you’re dealing with. These are some of the most prevalent forms of wall damage, their causes, and how they can affect your paint job.
Wall Cracks
A common problem in most homes. They can be small hairline breaks or larger, more prominent clefts. Such cracks could be caused by various factors such as a shifting foundation, climate, or poor construction. As your house erodes over time, the foundation may shift and walls crack. Extremely high and low temperatures can also cause the walls to stretch and contract, causing cracks.


Cracks may also indicate the inability to properly build or use suitable materials. Cracks can interfere with painting since they leave uneven surfaces and let moisture leak into the walls. Left unattended, cracks can cause larger problems such as water leaks or structural collapse.
Holes in the Drywall
Another frequent form of wall damage, they can be as small as nail holes, or larger dents or punctures. Small nail holes typically appear from picture hanging or display racks, which are easily filled with spackling compounds. Bigger dents or punctures, however, can result from injuries, like a doorknob striking the wall or furniture being pushed too close to the wall. Drill holes can be difficult to paint because they give uneven walls and let moisture soak into the wall.
Peeling Paint
Flaking or peeling paint isn’t unusual in most households. It tends to be the result of dampness or bad adhesion of previous layers. When paint peels or flakes, this can leave a textured surface that can’t be painted over. Sometimes peeling and flaking paint is a sign of a larger issue, like water damage or a leaking pipe.

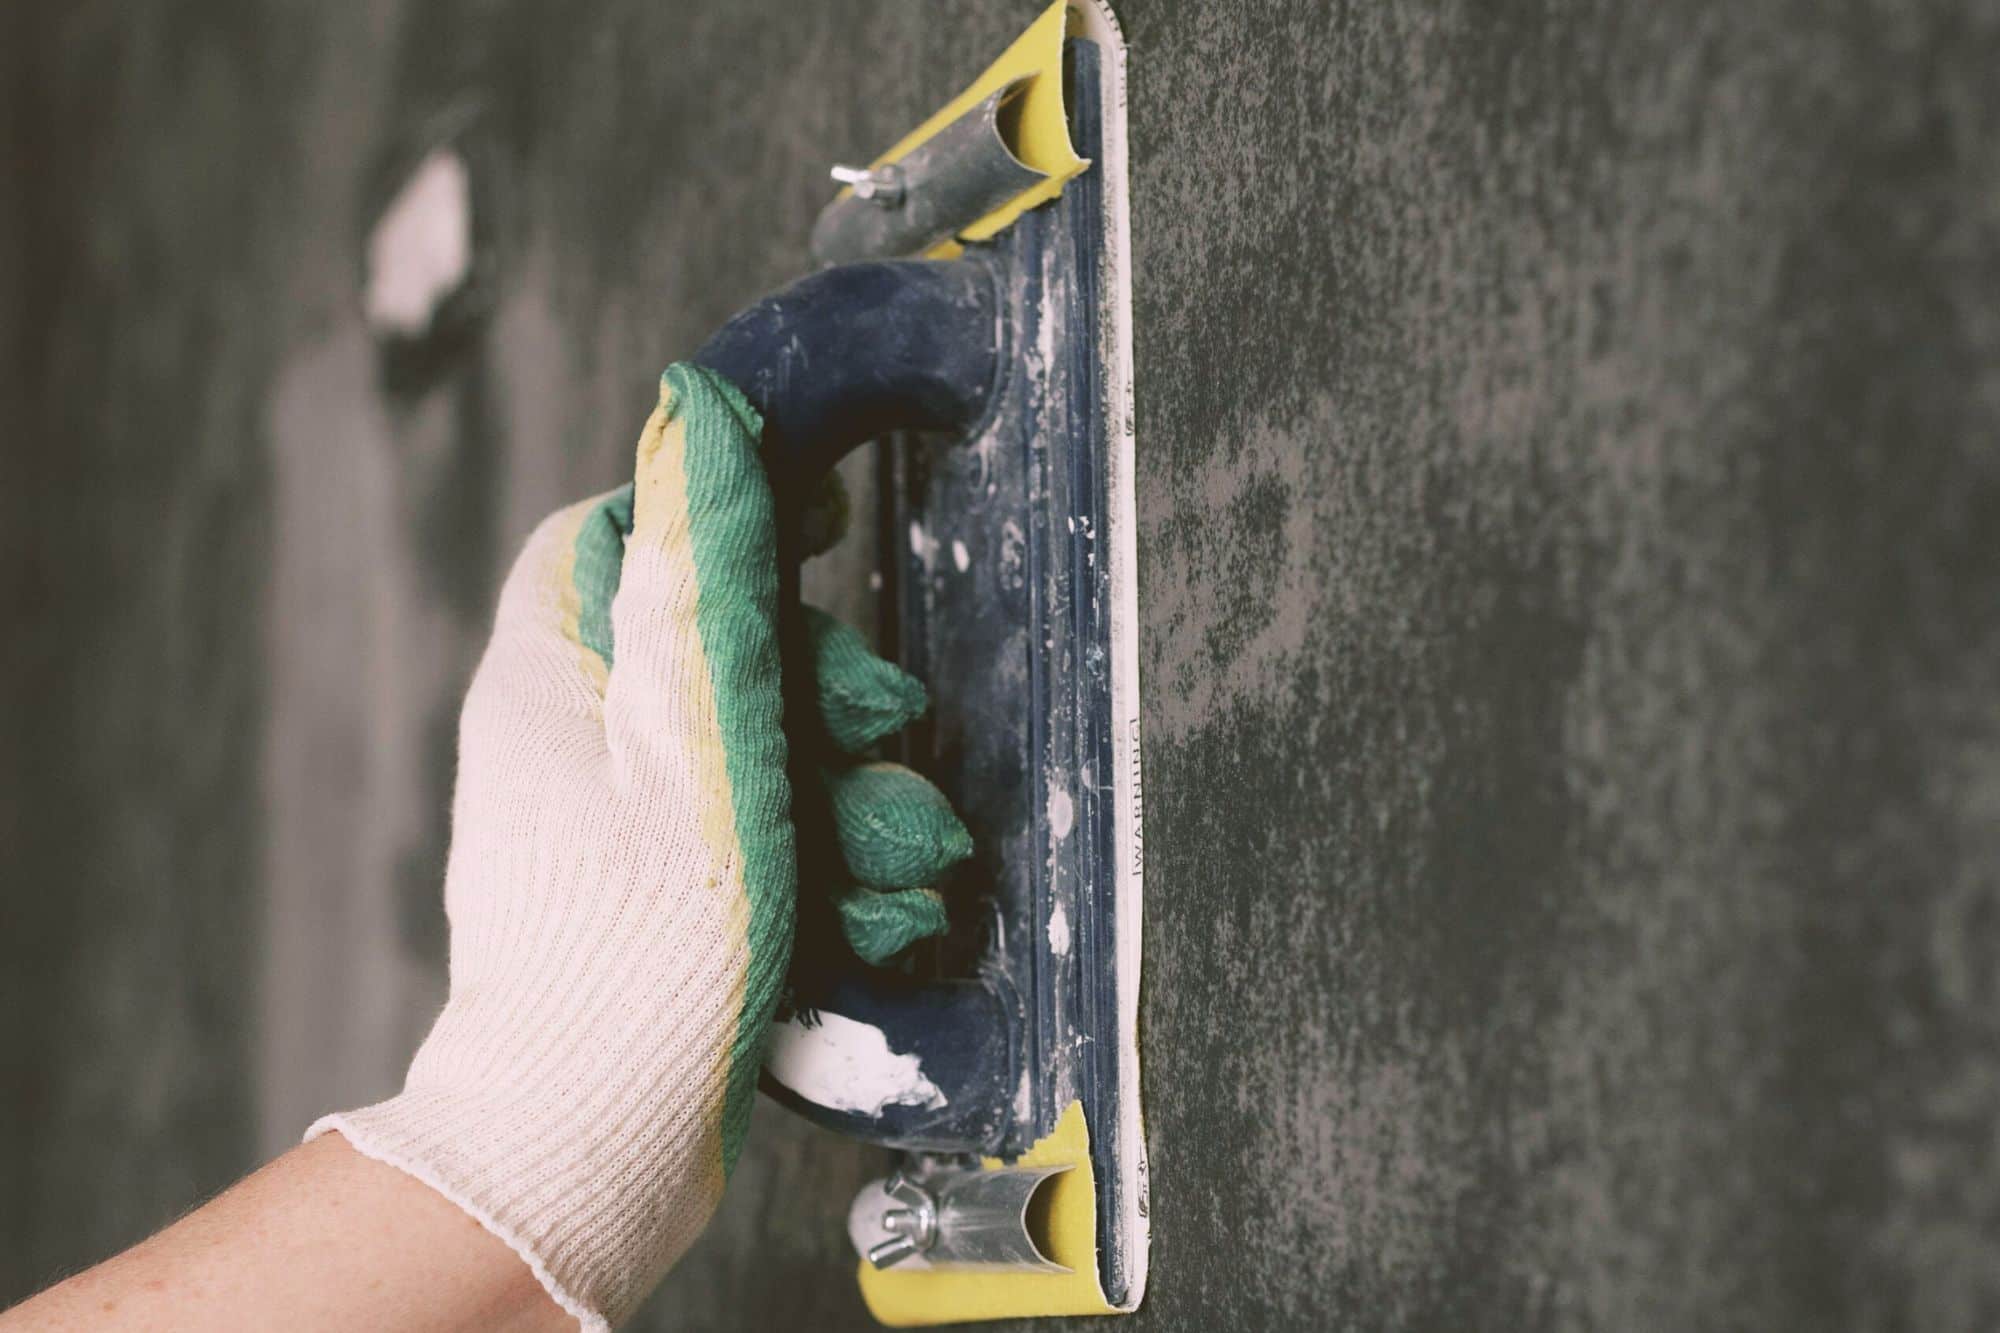
To replace peeling or flaking paint, you need to scrape off the peeling paint and sand down the edge before reapplying. For a professional finish you can get help from Ealing Painter and Decorator to give your wall a perfect look.
Water Stains or Mould
This more serious signs of wall damage may indicate hidden problems such as leaks or poor ventilation. If water dribbles into the walls, they will darken, crack or become mouldy. Such problems can be difficult to address and may require professional help. Sometimes, water spots or mould might be indicative of a leaking roof or clogged plumbing.
Tools and Materials Needed for Repairs
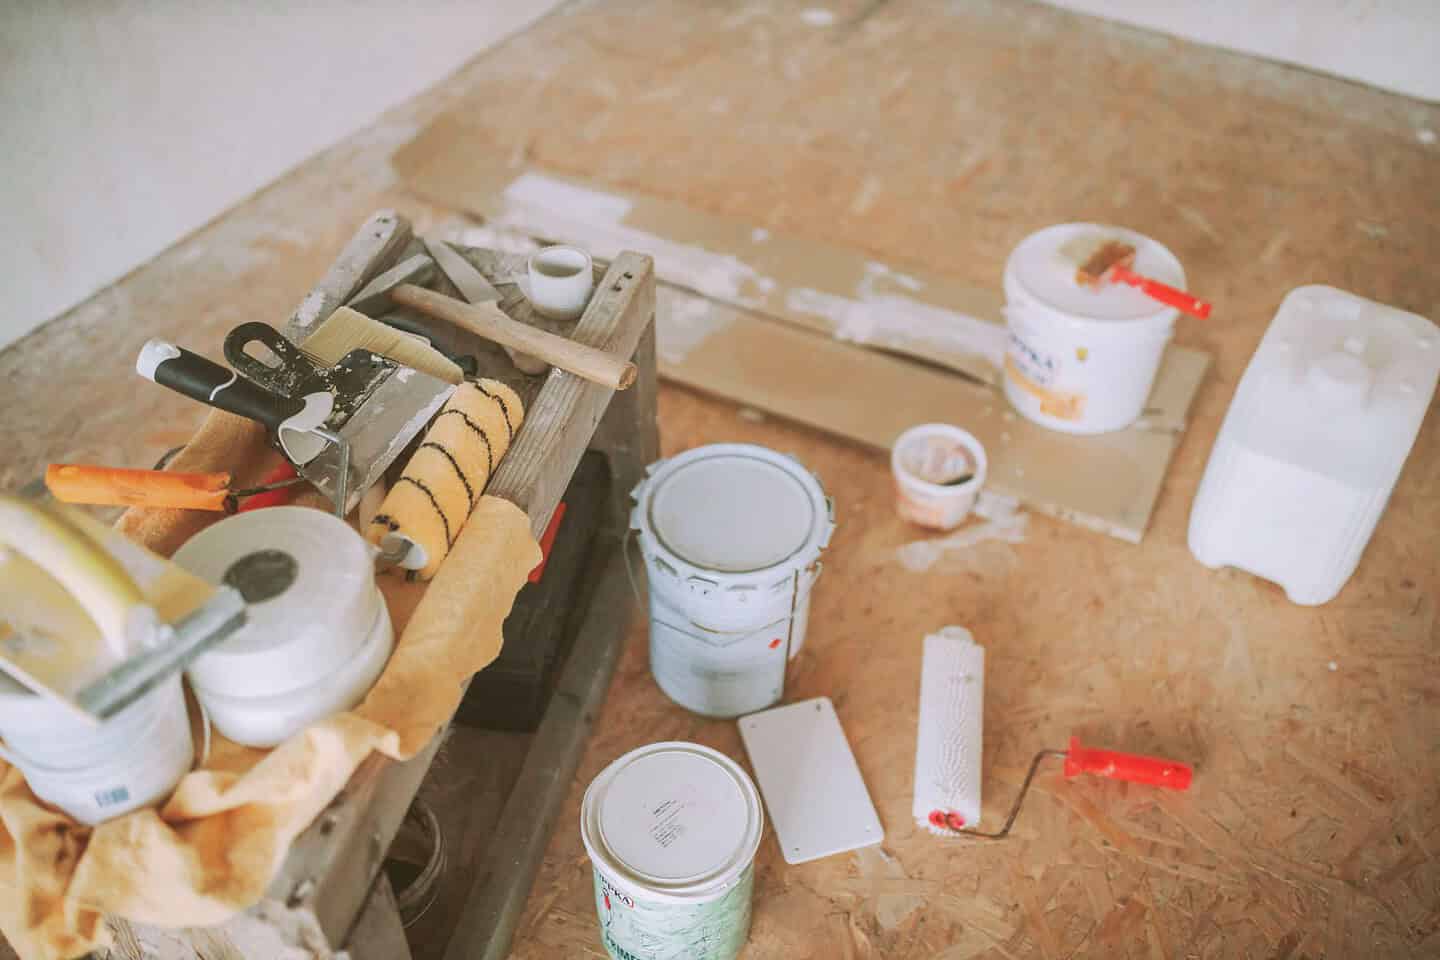
You’ll need a few tools and materials for most typical wall damage repair issues.
Putty Knife
A must-have to coat and smooth spackle or joint compound, and to scrape off loose paint or scraps. Tip: get a putty knife with a very flexible blade so you can slide the knife around in tight spots.
Sandpaper
You’ll want to have coarse-to-fine grits to buff the surface and get rid of imperfections. Use coarse grit sandpaper (120-150) to buff away any rough patches, and then transition to finer grit (220-240) for an even finish.
Spackle or Joint Compound
For plugging up holes and crannies in the wall. It’s a kind of paste that sets well and can be sanded down. You should use a spackle or joint compound that matches the material you’re using on your wall (drywall, plaster, etc. ). For bigger holes, you may need to purchase a patch kit. These kits typically come with a ready-made patch and some adhesive and are intended to be easy to use. Simply put the patch over the hole, smooth the edges, and let it dry.
Primer
Also very helpful when it comes to repairing the wall. It holds the surface together, creates a smooth canvas for painting, helps even colour coverage, and can even resist stains. Choose a primer that’s compatible with the type of wall you’re working with and the paint you are using. A high-build primer works best to hide blemishes and keep repaired areas from exposing the paint.
Cleaning Products
Wall repairs also require cleaning beforehand. You’ll need a small detergent, a sponge, and water to clean the surface of the wall and clear away the dirt, dust, and grease so that the spackle or joint compound adheres properly.
Painter’s Tape
To help you get clean lines and sharp edges. You can use it to mask off any areas you don’t want to paint, or to place a trim around the repair zone.
Safety Equipment
Remember that safety always comes first, no matter how big or small the project. You can get welding helmets, clear lenses, welding lenses, and more from Ridge Products Welding.
Step-by-Step Repair Process
Once you’ve got everything set up, and all of the supplies you need, it’s time to get to work on the fix. Here’s a handy step-by-step guide to follow.
Assess the Damage
Repairing starts by assessing the harm. Go up close to the wall and make a note of every flaw you can see. Classify them by type and extent, and mark which ones you need to repair so you don’t end up missing anything.
Clean the Surface
Clean the wall first before you begin to repair the damage. Sometimes dust or dirt can hide minor damage.
Repairing Different Types of Damage
- Cracks: Cut a small hole in the crack with a putty knife and fill it with spackle or joint compound. Finish rubbing off the surface and let it air dry. Once dry, sand the edges lightly to achieve a smooth finish.
- Small Holes: Fill the hole with a spackle and level out using a putty knife. Let the spackle dry and sand it to make it smooth.
- Larger Holes: Use a patch kit or a new sheet of drywall to fill the hole. Attach the patch with adhesive, apply joint compound around the edges, and feather it out. Let the compound dry, then lightly sand the surface to a smooth finish.
- Removal of Peeling Paint: Scrape off the loosened paint with a scraper or sandpaper, then prime the surface to smooth it out. Let the primer dry before painting.
- Water spots or mould: Start with repairing the water source, then treat the affected area with a stain-blocking primer or mould remedial solution. Let the solution dry, and then apply paint.
Tip: take your time when repairing wall damage. It may take a while and some effort, but the end result will be worth it when you have a smooth, even surface that’s ready for painting.
Prepping for Painting
You should prepare your wall for painting to make sure it looks great and can last for years. Sand all the repaired areas and then wipe the wall clean of dust and debris with a damp towel or tack cloth. Dust particles lingering on the surface may hinder the application of paint.
Priming your entire wall will ensure a consistent repair, especially if the repairs are extensive or spread across the entire wall. Let the primer completely dry before moving on to painting, following the manufacturer’s recommendations for best results.
Lastly, seal the edges, corners and trim with painter’s tape. Firmly apply tape along baseboards, windowsill edges and adjacent walls to eliminate paint spills and for neat, precise lines. Tip: to get a clean finish, pull off the tape while the paint is still slightly wet so that you don’t pull off the paint as well as the tape.
Thorough prep might take some time and effort, but it greatly reduces the need for future touch-ups and you’ll get a better outcome.
The Wider Picture
Wall damage needs repair and preparation before painting – it’s a vital step that creates the basis for an unfailing long-lasting finish. You’ll most likely be able to deal with minimal damage yourself, but for large repairs or major structural problems, you need to hire a professional. Experts know the tricks and tools to create a high-quality product that will last.
As the saying goes, “Time spent on preparation and planning is seldom wasted.” The time you spend repairing and priming your walls will save you time, money, and frustration in the longer term, as well as allowing your walls to become a canvas and improving the aesthetic of your home.
* This is a collaborative post – please see my Disclaimer.


Great tips for anyone looking to refresh their home with a new coat of paint! Preparing walls properly before painting is definitely a crucial step to achieving a professional finish. I actually just had my bathroom repainted.
Absolutely, and prep is especially important with a bathroom, where the room gets so much moisture.
Wow so much useful information here! I do not like those command strips at all. I feel they can can do more damaged to your walls than nails. Nail holes are easy to fill and paint over as you describe here, but if those command hooks are not used just right they end up pulling off large chunks of paint which is much harder to fix/fill then nail holes. So when hanging I will stick to nails.
Allie
I know what you mean – I’ve had the same experience with command strips, now I stick to nails as well. Thank you, Allie, glad this article was useful.
Reading this, puts into perspective just how much a proper repair impacts the final paint job. The tip about sanding for a seamless finish is gold. But all practical steps
Doesn’t it just? I think I’d rather employ a professional to do it for me!
Cool! These are the things that the contractor who is renovating our house does before he repaints the walls. Insya-Allah, my home will be ready next week. I’m sooooo looking forward to returning home. And I’ll be having a green room. Yay!!!
Keeping my fingers crossed for you, Fadima!
This is such a good reminder that painting isn’t just about picking a pretty colour and going for it. I can relate because it’s always so tempting to just paint over everything and hope for the best but the prep REALLY does make such a difference!
Lenne
Oh yes, it does. It’s time consuming but so worth it!