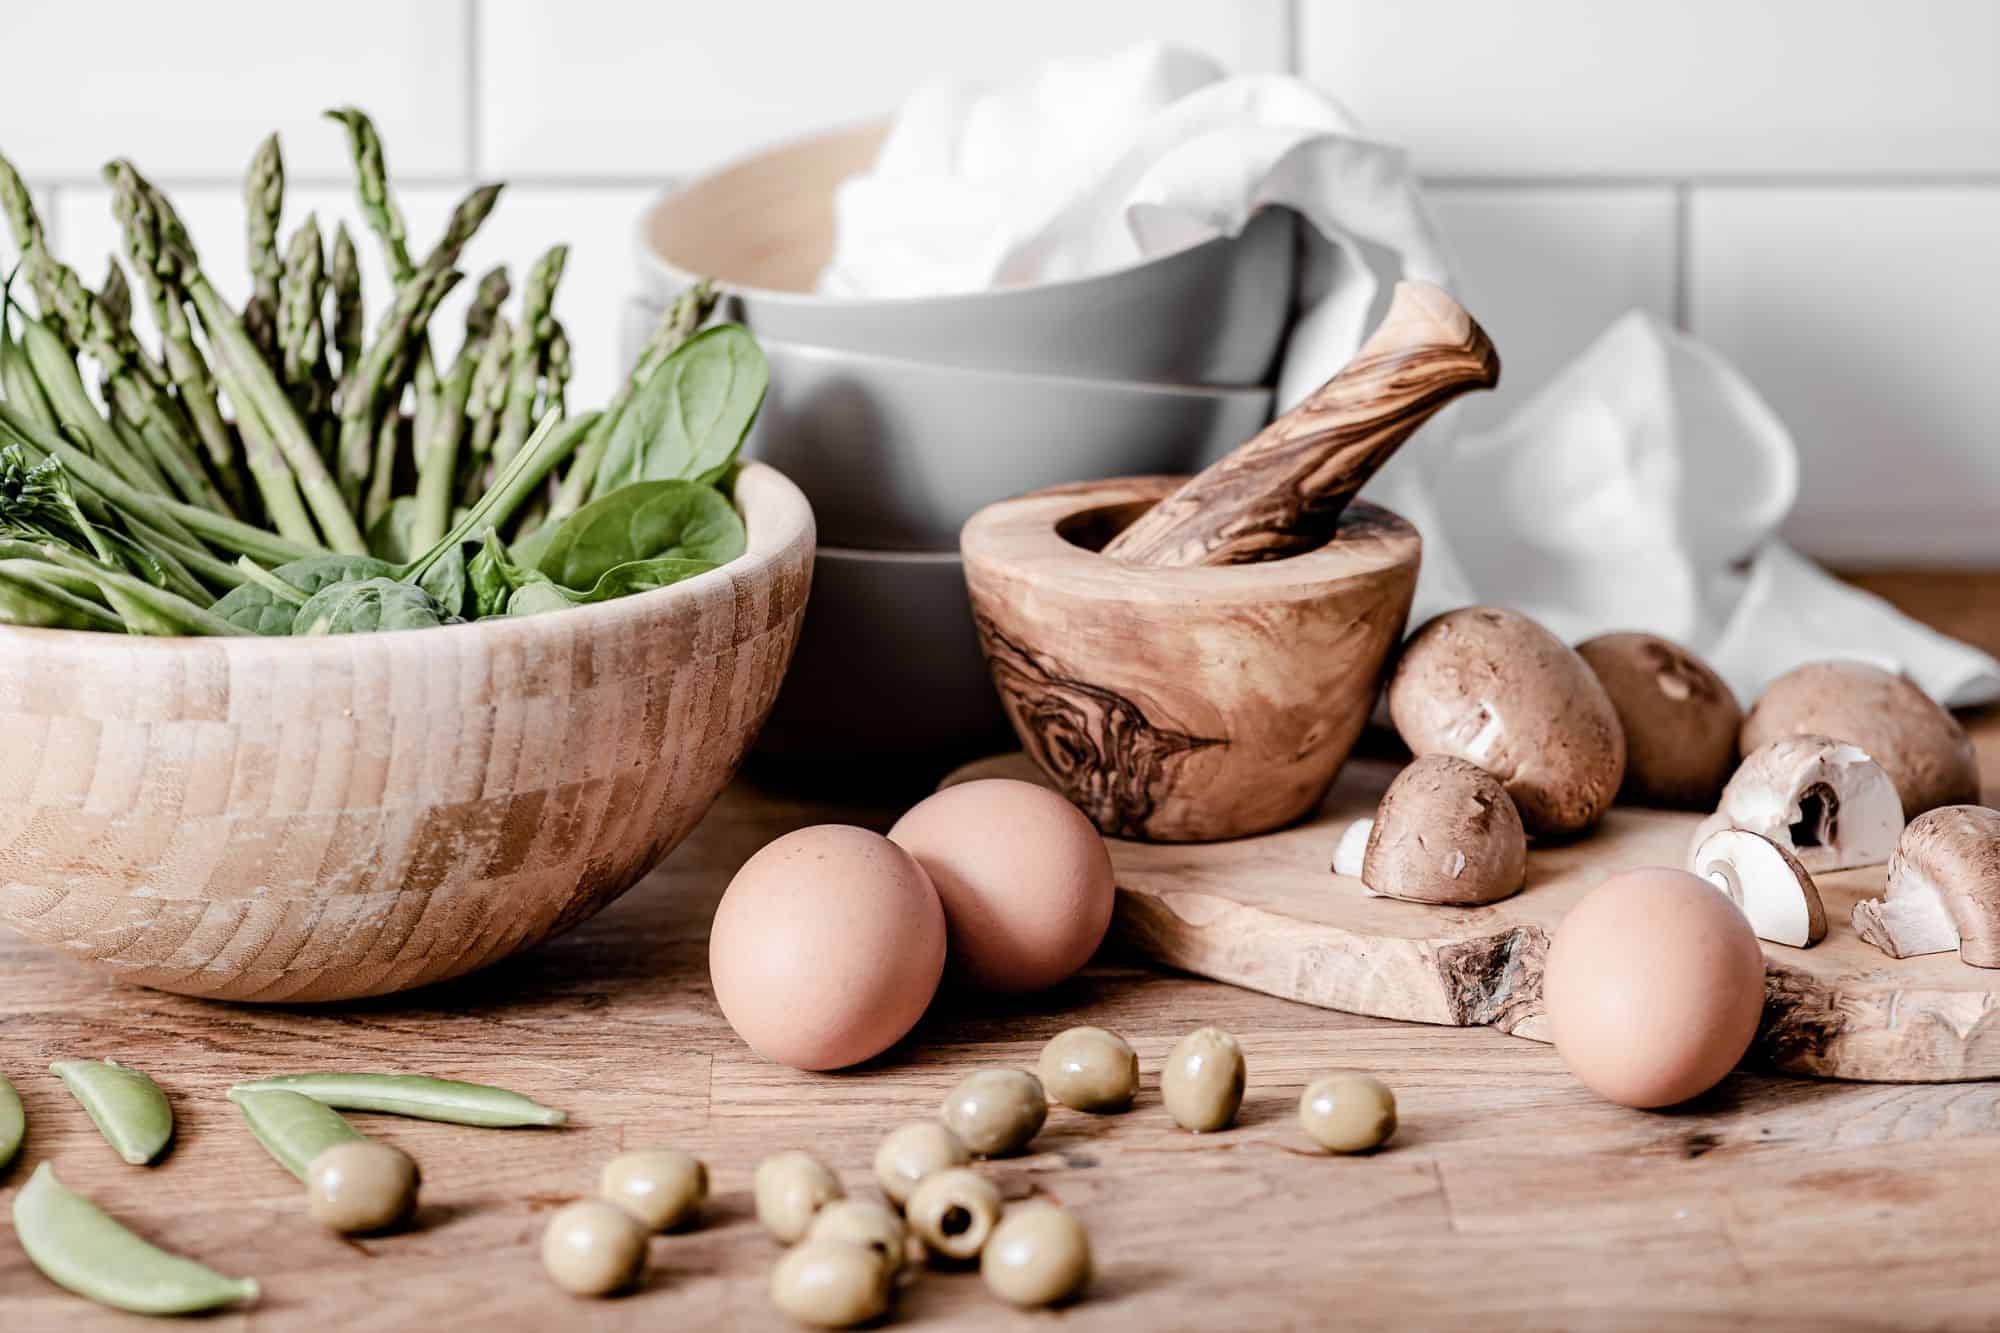
AD | Hand carving a bowl is a useful craft where you’ll get a beautiful object to use day-to-day, not just something pretty that sits on a shelf and is forgotten. If you’re wondering how to carve a bowl by hand, it’s best to start with something simple, namely carving a small bowl, to help you to get acquainted with some basic wood carving techniques.
What You Need Before You Start Carving a Bowl by Hand
It’s essential to choose suitable wood and good equipment before you start work. For beginners, good woods to choose are usually linden, birch, alder, maple, plus fruit trees such as apple and cherry – all these are softer, more forgiving kinds of wood. They have sufficient density but are not too difficult to hand-carve. And make sure you go for dry wood without deep cracks, knots, or traces of rot to carve your future wooden bowl.
High-quality tools, such as Sharky Forged Steel Tools will make your life a lot easier. When you’re ready to make your hand carved wooden bowl, the best tools to use are a hook knife, a semi-circular chisel, a carving knife, a mallet, a pencil, sandpaper, and a clamp or a vise. And your piece of wood should bee slightly bigger than your future bowl, to give you the best chance of shaping the sides and base of your item.
How to Carve a Bowl by Hand: Step-by-Step Process
First, outline your future bowl on the top part of the piece of wood and mark a line on the sides that shows its height. It’s helpful to sketch the axis of symmetry so you get a symmetrical shape overall. When you carve a wooden bowl by hand, don’t try to make the walls thin too early on. Shape the overall form first, then gradually refine the wall thickness.
Your main stages of work are:
- Carve out the outline of the bowl with a knife or chisel, and then work it slowly through the edges so the sides look rounded, and softly contoured.
- Secure the bowl in place and pick out the mid-area using a spoon-shaped cutter, or a half-round chisel.
- Make cuts in short steps, following the grain and measuring the thickness of the walls.
- Shape the bowl by removing small irregularities and transitions between the bottom and sides.
- Polish the surface using sandpapers of different grits.
Tip: don’t apply pressure on the cutting tool while you’re working on the middle. This is how to achieve a properly carved wooden bowl with a flat bottom and smooth walls.
Common Mistakes to Avoid When Carving a Wooden Bowl by Hand
A common mistake many first-time carvers make is cutting against the grain. If you do this, the wood will tear out into chips and become rough. As soon as you see the chisel creating a rough pattern, you know it’s time to change the direction or rotate your bowl.
It’s also important to take note of the chisel angle. An excessively steep angle will destroy the wood fibers and create deep grooves. It’s best to be patient and take your time when shaping the inside because any unevenness may result in very thin walls or even a hole in your bowl.
How to Finish and Seal a Hand Carved Wooden Bowl
Once you’ve finished shaping your hand carved bowl, you need to sand its surface properly. First, take sandpaper with a grit of 120, and then sand it again using paper with a grit of 180-240. Wipe off the dust with a dry cloth or a brush, especially the inside of your bowl.
If you want to make it food-safe, you can apply such materials as mineral oil, walnut oil, or linseed oil for foods, or a mixture of oils and beeswax. Apply your chosen product in thin layers and allow it to absorb while wiping off the surplus. Repeat several times to protect the bowl properly.
This way, your handmade bowl will serve as both a useful item and a decorative element of in your home, or perhaps a gift for someone you love. Handmade wooden bowls feature natural surfaces, and any wooden carved bowl will preserve traces of all your hard work. Don’t forget to renew the oil coating regularly, and you’ll enjoy your wooden bowl for a very long time to come.
Have you ever tried to carve a bowl by hand? If you did, did you give it away as a present or keep it for yourself?
* This is a collaborative post – please see my Disclaimer.

Leave a Reply