
What do you usually do with your kitchen fruit and vegetable scraps? To be clear, I’m talking about uncooked food waste here. If you tend to chuck it out on your compost pile or into a food waste bin, here’s an alternative eco-friendly swap to consider instead. Have you heard of or ever tried kitchen scrap gardening? If not, then you might like to explore this sustainable practice of recycling, which could end up saving you money, and is lots of fun too.
What is Kitchen Scrap Gardening? What Are the Benefits?
Also known as non-waste kitchen gardening, this is a technique for re-growing plants from food scrap that you’d normally put out for compost or food waste. Yes, it’s entirely possible to regrow vegetables from scraps in water, and fruits and herbs too. You can start gardening from kitchen scraps on a sunny windowsill or the counter top, you don’t need any special equipment, it’s great for beginner gardeners, and it’s also a fun gardening activity to do with kids because it teaches them where their food comes from – with edible results.
What To Know Before Starting a Scrap Garden
Always use organic food items because hybrid foodstuffs may not produce the results you expect. Most commercial fruit and vegetables in your local supermarket or grocery store have been enhanced in some way to add flavour, colour, or change a physical or chemical characteristic of the plant to make it grow faster, or even prevent sprouting or growing if they stay for long without being used. Organic foodstuffs are best for your kitchen scrap garden because nothing about them has been enhanced or changed.
How to Grow Your Own Produce from Kitchen Scraps – Easiest Plants to Choose
Here are some of the best and easiest fruits, vegetables, and herbs for your kitchen scrap garden.
Avocados
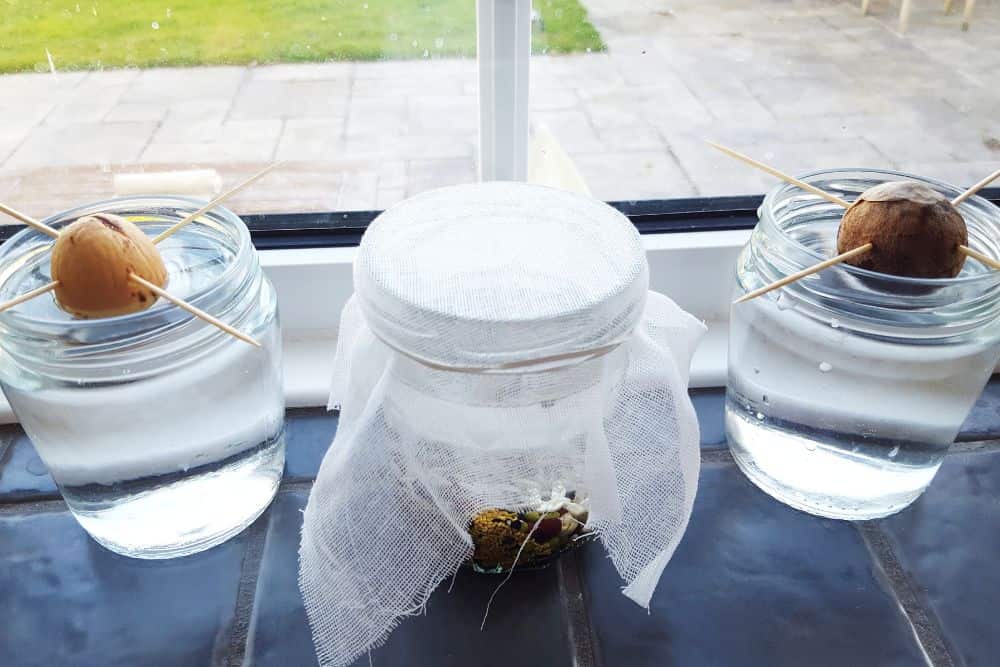
Clean the avocado pit or stone and use toothpicks to suspend it in a jar of water. Keep this jar in a place with direct access to sunlight. Avocados take a long time to sprout (sometimes as long as six weeks) and longer to grow into trees, but when they do, they make great houseplants. Be prepared to re-pot every year or so though, as their roots grow large.

Oranges and Lemons
Save the seeds, wipe them dry, and then sow them into a potting soil mix about an inch deep. Transplant them into bigger pots once they’ve germinated. When you rub the leaves, the fragrance on both plants is beautiful, although it’s unlikely you’ll ever see any fruits – or if you do, it will take many years!
Cucumbers and Tomatoes
Cucumbers and tomatoes are also super easy to grow from seeds. Treat them the same as oranges and lemons, but the difference is you’ll be able to plant these new plants out in your vegetable garden or greenhouse once the frosts have passed, and then harvest their fruits a few months later.


Beans, Peas, Courgettes, and Squash
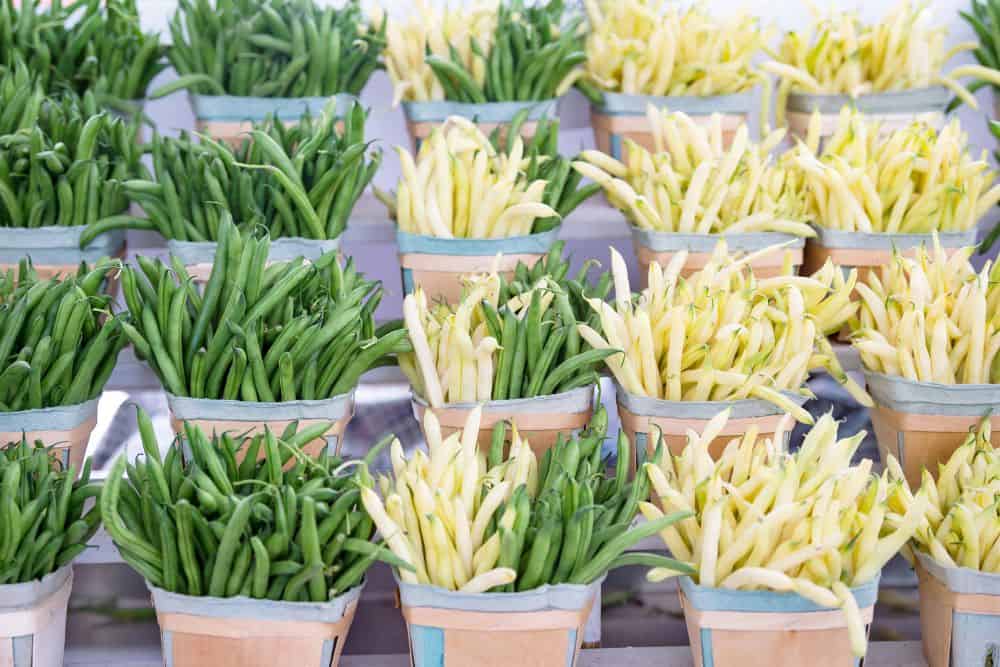
Beans, peas, courgettes, and squash work the same way. Clean the seeds, dry them, and sow them. Once they germinate, transfer them into large pots or the garden. Beans and peas will need stakes or a cane wigwam to support their growth, whereas courgettes and squash both grow into large spreading plants and need plenty of space. Tip: use the Companion Planting technique and plant them all out in the same raised bed.

Lettuce and Celery
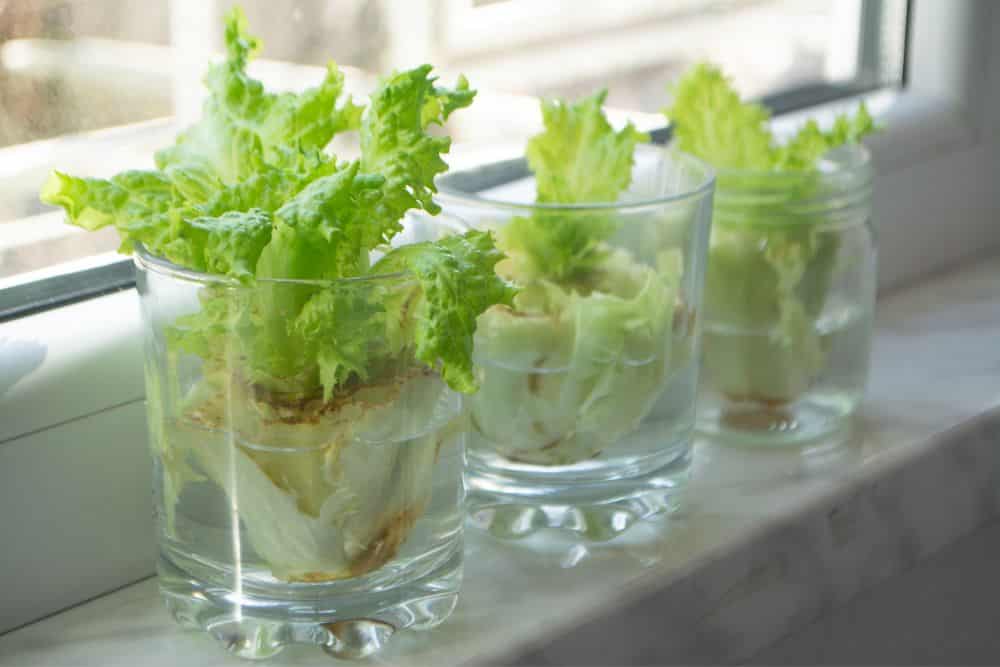
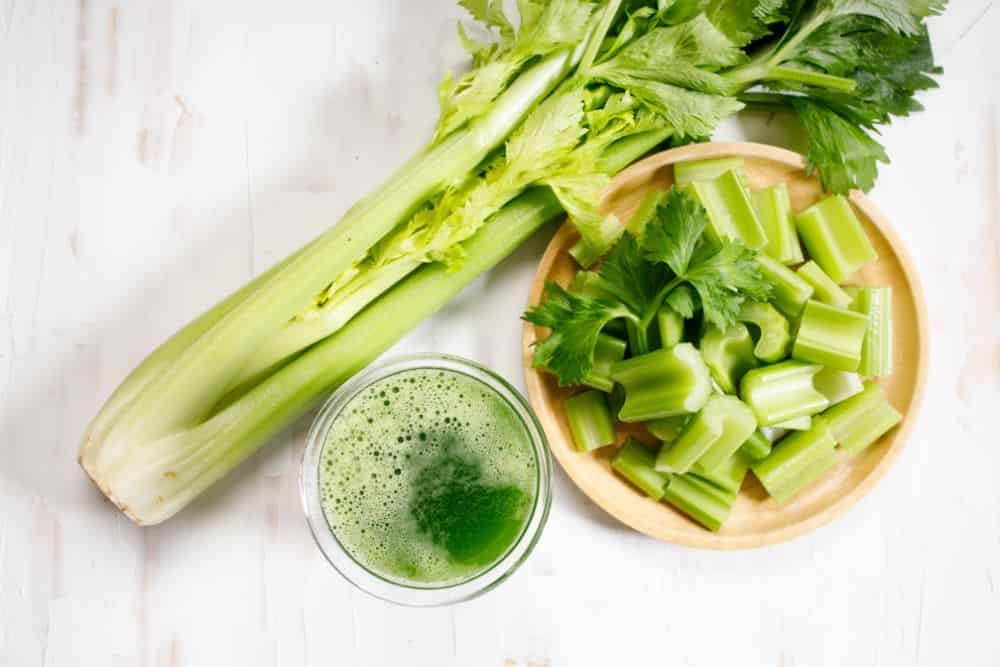
Cut your lettuce (Romaine lettuce works well) and celery slightly above the base. Use toothpicks or sharp sticks to suspend this base in a small jar of water for several days until you see new roots. Once you do, transplant the celery into a larger container with good potting soil and the new plant will start growing. The lettuce can stay in water and you’ll have a cut and come again supply of perfectly fresh leaves for a sandwich or snack for a few more weeks.
Green/Spring Onions
Cut off the green part of your spring onions just above the white end and put the white end into some water. As soon as you see the roots growing, plant them on into a pot, and in a few weeks’ time you’ll have fresh shoots to harvest. You can do the same with the top parts of normal onions as well.


Carrots and Beetroots
Treat these in the same way as onions – slice off the head end along with one to two inches of the root and place it in a saucer filled with shallow water and pebbles for support. In a week or so, new greens should appear from the top – you can use these in a salad if you wish. Leave a few on on the new plants though and then pop the roots into a container filled with potting soil.
Sweet Potatoes
Kitchen scrap gardening with sweet potatoes is a two-stage process. Cut the sweet potato into pieces and suspend these pieces using toothpicks in small water jars. Sprouts, also known as slips, should start appearing after about a week. Once the slips are about 6 inches tall, pull them off and place them inside a shallow container with some potting compost. Transplant them into the ground outside after the roots appear and after the last frosts. Alternatively, keep them as beautiful houseplants because it can take some years before you’re able to harvest from the vines.

Garlic
Separate some cloves from your main garlic bulb and plant them about 2 inches deep into some small containers with potting soil. Make sure the top side (pointed end) faces up. Once the roots from the cloves start showing through the bottom, transplant them into bigger containers.


Ginger
Cut a piece of ginger and plant it about 1 inch deep into a container with potting soil, and transplant it into a larger container once the leaves emerge. You’ll need to keep your new plant indoors because ginger doesn’t like the cold and wouldn’t survive frost. Then, whenever you want to use ginger in your meal, carefully dig out the root, cut a small portion as needed, and rebury.
Basil and Cilantro/Coriander
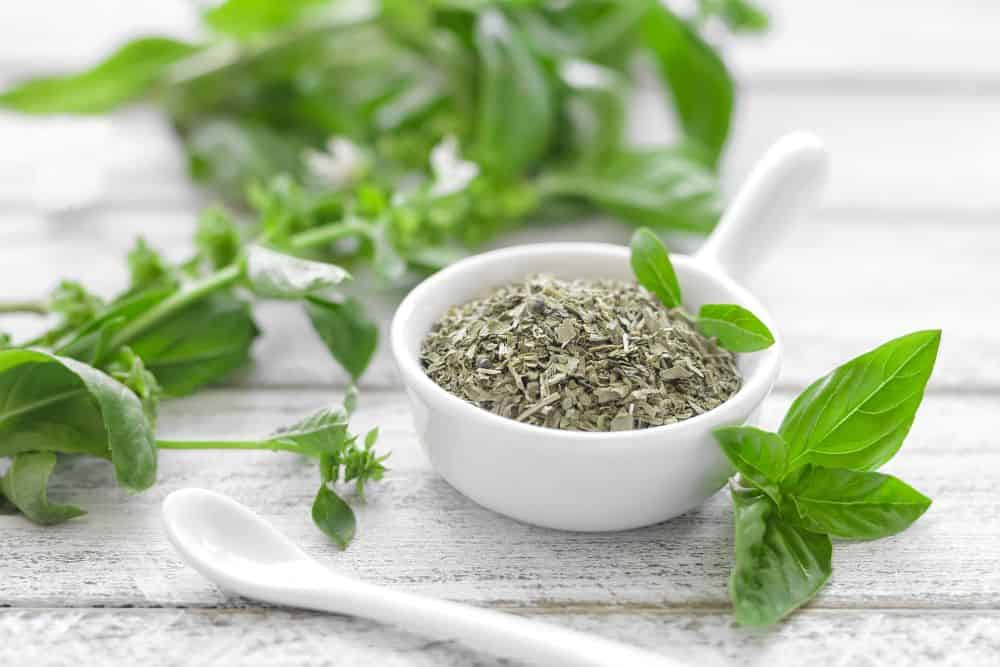
Pop some stems with a few leaves at each tip into water and, once the roots develop, transplant them into a pot with good potting soil. Both these herbs grow wild and fast. You‘ll be pinching the leaves and stems in no time, or as needed when you’re cooking.
Lemongrass
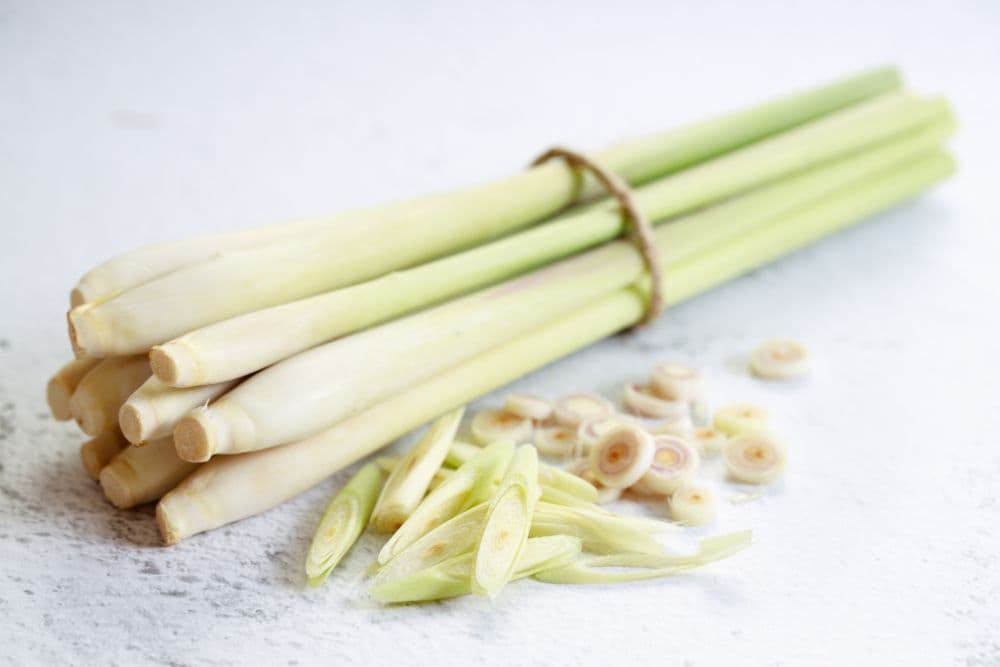
Lemongrass is also an easy and delicious herb to grow. Simply place the roots of the leftovers in a glass of water and leave them in a sunny spot. Roots will form in about a week and you can then transplant the individual stems to a larger container with some soil.
FAQs About Kitchen Scrap Gardening
What tools do I need to start a kitchen scrap garden?
Your scrap gardening kit is simple. Just some potting soil*, a range of different-sized pots*, and a few plant trays* to catch any water running out of your pots. That’s really all you need to get started – head to your local garden centre or order on Amazon*.
What other fruits can I grow from scrap?
You could try strawberries (although collecting and washing the seeds is a bit of faff) and other citrus fruit such as grapefruit and lime.
What other vegetables can I grow from scrap?
You could try peppers and chillis, treating them in the same way as with the cucumbers and tomatoes.
What can you not grow from kitchen scraps?
Broccoli and cauliflower won’t regrow because they don’t have a root as such, their florets are flowers. Most vegetables and herbs that regrow easily either already have some roots at the base, or they’re healthy stem cuttings that tend to root easily. Like in this cute little table centrepiece by Simple Bites.

Would you recommend kitchen scrap gardening for beginners?
Absolutely, it’s a year-round activity, perfect in Spring, Summer, Autumn, and Winter. Plus, it’s eco-friendly, saves you money, and is lots of fun. So, give it a go, what have you got to lose!
Have you ever tried kitchen scrap gardening? Which plants did you have success with if so? If not, which plants are you tempted to try scrap gardening with now?
* This post contains affiliate links – please see my Disclaimer.


You had me revisit a few lost memories because my great grandmother did this. Lettuce, peas, cucumbers, bell peppers, pumpkins too and was so successful. Obviously she had green fingers.
That’s amazing, Bev, such lovely memories to have, I hope they inspire you too now!
I sometimes do this but never knew it had a name! Kitchen scrap gardening is a genius idea, especially if you don’t have a compost heap 🙂 x
It’s so much fun too – I’ve done lettuces, avocados, and citrus fruits (the latter by accident!) x
This is such a helpful post, Lisa! This isn’t something I’ve ever thought about doing but I really want to make more time to cook this year, so this could be a good starting point!
Absolutely – the lettuce is probably the easiest one to start with, just water required 🙂
Reuse food for gardening… I like this idea! My Dad does this too. Thank you for sharing your tips, Lisa. Good post as always.
Ah, that’s great to hear, Fadima, and thank you so much.
I’ve never heard of kitchen scrap gardening before, but I love the concept behind it! It’s so much more sustainable to regrow food scraps x
Lucy | http://www.lucymary.co.uk
Yes, it is, and so much more fun than food waste bins too! x
I love doing kitchen scrap gardening but I certainly don’t do it as often as I could. I’ve done a few of these foods but not all of them. I found scrap regrown celery has a much stronger flavor which was fantastic. I have hit-or-miss luck with lettuce.
Ooooh, that’s interesting about the celery, I’ll have to try ours again, thank you, Sarah!
Your post really has my mind going in a million directions. I have already tried regrowing green onions, lettuce and sweet potatoes… but I had no idea so many more produce items could be regrown. So neat!
And my work is done 😋 Thank you, Heidi, glad you enjoyed the post!
wow! This is such a resourceful list, I actually saved it to come back to it again when I have one of those on hand. I try to find ways to use fruit & veggie scraps and leftovers instead of just throwing them, I try simmer pots for some fruits. Always knew you could plant some of it back, but never actually succeeded in doing that lol. Next time will follow your steps and hopefully it’ll work 😄
Thank you so much, Ray, that’s very kind – I’m so happy it’s been a helpful post, and I know what you mean about stocks and stews, so it’s great to have an alternative 🙂
This is a wonderful idea for cost saving, too. Your blog consistently presents brilliant ideas that captivate an absolute pleasure to visit!
Oh my goodness, thank you so much, what a wonderful compliment to receive!
I’ve done this with green onions, but I didn’t know it was called kitchen scrap gardening. I’m intrigued to try this out with more produce like lettuce and garlic.
I think lettuce is the easiest one to regrow – you only need water!