
After years of growing fruit and vegetables, the satisfaction of harvesting fresh greens for a homegrown salad is something I never get tired of. When I first started gardening, I made the rookie error of planting out everything at once, leaving me with too much lettuce one week and none the next. Now, our salad garden provides fairly regular harvests from early Spring through to early Autumn thanks to succession planting and a varied selection of greens.
12 Easy Steps to Growing Your Perfect Salad Garden
One of the most rewarding parts of growing your own salad garden, whether you’re working with raised beds, a balcony full of containers, or even a few gro bags* on a patio, is that the same principles apply. The fun lies in experimenting with different salad garden ideas and learning what works best in your space and climate. Nature is a very patient teacher and over time, you’ll develop a feel for what grows well together, when to sow, and how to get the most from every inch of your garden. So, first up…
Choose the Right Location
Salad greens generally prefer cool, partially shaded areas, especially in warmer climates. After experimenting with different spots in our garden, I’ve realised east-facing locations with morning sun and afternoon shade produce the most tender, sweet greens during Summer. In Spring and Autumn, planting in full sun works better.
If you’re growing in containers, choose deeper pots than you might think necessary – at least 6-8 inches deep – as even shallow-rooted greens need consistent soil moisture.
Prepare Your Soil Properly
Most salad greens need loose, well-draining soil that’s rich in organic matter. I top up our salad beds every year with 2-3 inches of compost, working it into the top 6 inches of soil.
For our containers, I use a mix of equal parts compost, garden soil, and vermiculite* or perlite*. This combination offers good drainage while retaining enough moisture to keep greens happy. Tip: try aiming for a slightly acidic to neutral pH (6.0-7.0) for the best results.
Select a Diverse Mix of Greens
The secret to a perfect salad garden is diversity – different flavours, textures, and growing seasons. I try to grow at least three lettuce varieties (one Butterhead*, one Romaine*, and one Loose-Leaf*), along with Spinach*, Rocket*, and Mustard Greens*.
For colour and texture contrast in your salad bowl, try Red-Veined Sorrel*, Mizuna*, and spicy Cress*. That way, not only will you have more interesting salads, you’ll also have a back up against pests or weather conditions that might affect one type but not others.
Don’t Forget Salad Herbs and Edible Flowers
Companion planting with herbs and edible flowers can really lift a simple salad garden to something special. I have Dill*, Fennel, and Parsley* interplanted throughout our salad beds and containers. And the bonus is these herbs self-seed readily, providing new plants for free.
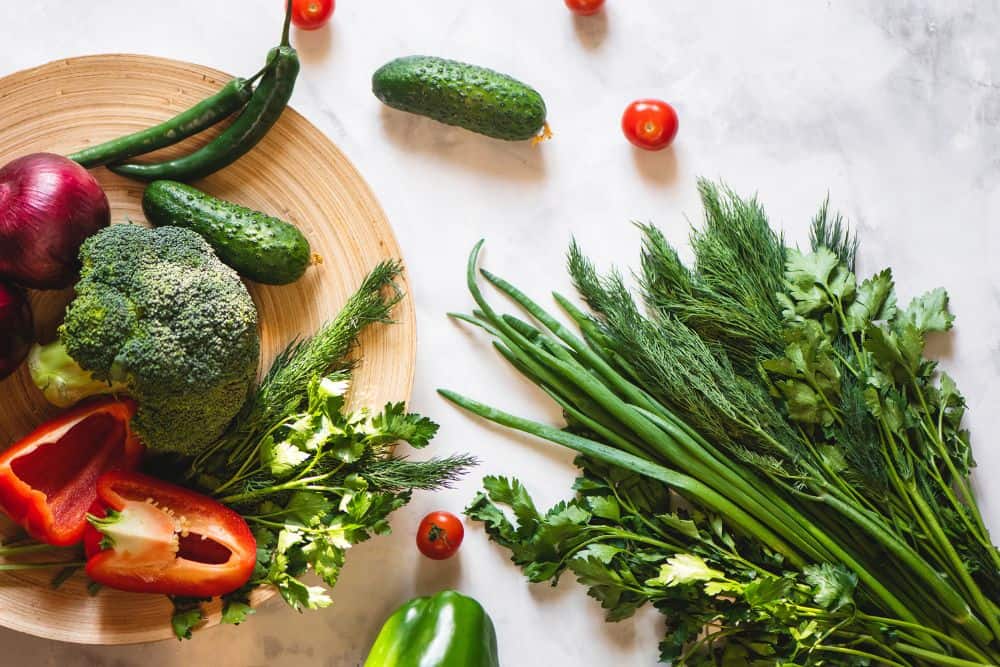
For edible flowers, my favourites are Borage*, Nasturtiums*, and Calendula* – they’re beautiful, easy to grow, and add lovely pops of colour to both garden and salads. Tip: plant these around the edges of your salad beds where they won’t shade your greens, unless of course that’s what you want them to do.
Master Succession Planting
The biggest challenge with salad greens is managing the timings of your harvests. Tip: plant small amounts every 7-10 days rather than everything everywhere all at once. This succession planting ensures continuous smaller harvests rather than a huge one at one time.
Tip: divide your salad bed into four and plant up/sow a new quarter every week. By the time you’ve planted the fourth section, the first is usually ready for harvest.
Direct Sow Your Seeds Properly
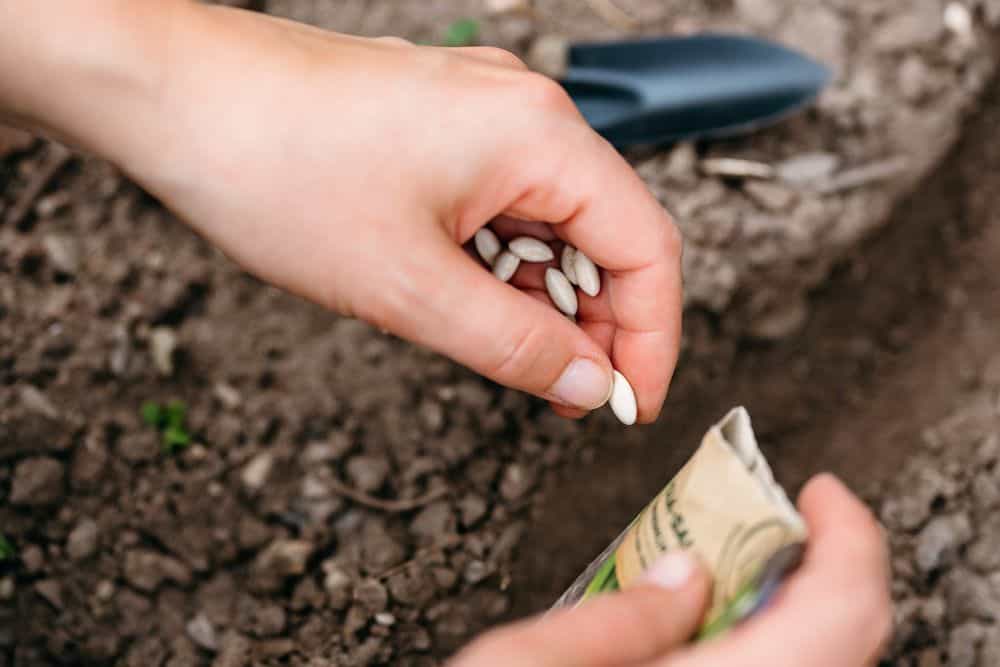
Most garden salad plants have tiny seeds that need careful planting. Tip: draw shallow furrows (about ¼ inch deep) with a rake, then mix your smallest seeds with some fine sand before sowing, to help distribute them evenly. Fun fact: Carrot seeds* even come pre-packaged in tapes to make sowing even easier.
For larger seeds like Nasturtiums, soak them overnight before planting to speed up germination. Always firm the soil gently after sowing your seeds, and keep it consistently moist until germination occurs. Tip: use the mist setting on your hose or a fine rose* on your watering can – you don’t want to wash away all your tiny seeds, nor drown your emerging seedlings.
Thin Seedlings for Proper Spacing
The right salad garden layout and spacing makes a huge difference to how well your salad greens grow. Once our seeds have germinated, I thin them out ruthlessly, even though it really does pain me to keep pulling out perfectly healthy little seedlings.
Leaf lettuces need about 6 inches between plants, while head-forming varieties need 8-10 inches. Tip: try thinning in stages – first to 2 inches apart, snacking on your tiny thinnings, then to final spacing, enjoying those as baby greens in your salads.
Water Consistently But Carefully
Sporadic watering is the downfall of many salad gardens, resulting in bitter greens or bolting lettuces. It’s better to water deeply 2-3 times per week rather than lightly every day, because you want to encourage deeper root development. Either early in the morning or later in the evening is best.
Mulch to Maintain Soil Moisture and Temperature
A light mulch around your salad greens will help maintain soil moisture and keep soil temperatures cooler during warmer weather. I’m a big fan of Strulch (straw + mulch)* which I use everywhere in our garden, not just around our vegetables.
Tip: I’ve found our mulched salad beds need half the watering of unmulched beds during any Summer heatwaves, and our greens are crisper and sweeter too.
Harvest Correctly for Continued Production
How you harvest will dramatically affect how long your salad garden produces food for you. We harvest loose-leaf lettuces and most greens by taking only the outer salad leaves, allowing the centre to continue growing. This “cut and come again” approach extends the production of a single plant for weeks.

For cabbage varieties like Butterhead or Romaine, try harvesting every other plant completely when they’re half-grown, giving the remaining plants more space to develop.
Manage Pests
Slugs are the primary pests in our garden, especially during rainy spells when I’m forever collecting up their big brown slimy bodies. Much as I’d love to only use natural methods, I’ve had to resort to commercial pet and wildlife-friendly slug pellets* if we want to eat any of our greens ourselves.
For aphids though, a regular spray of soapy water (Fairy Liquid) on the undersides of leaves usually discourages them. And interplanting sacrificial plants such as Nasturtiums or strongly-scented plants such as Marigolds*, which attract beneficial insects, can also help control your pest populations more naturally.
Extend Your Harvests with Simple Protection
If you want to extend your salad garden harvests by months rather than weeks, you can. In early Spring, cover newly seeded beds with cloches*, creating a mini-greenhouse effect to warm things up and speed germination.
And then in Autumn, use those same cloches to protect mature plants from light frosts. For even longer seasons, especially if you don’t have a greenhouse, try cold frames so you can harvest fresh greens even when there’s snow on the ground.
Going Green
If you’ve ever wanted to try growing your own salad garden then I hope these 12 steps will make it easier for you to try it. Believe me, there’s nothing like the flavour of fresh greens you’ve grown yourself, they beat the mass produced supermarket shop versions hands down every time. Not to mention how handy it is to have an abundant supply of fresh, food only a few steps from your kitchen. So, why not give it a go? And I wish you happy planting, happy harvesting, and happy eating when you do!
What salad ingredient are you going to try growing first? And what’s stopping you from planting it this weekend? 😊
* This post contains affiliate links – please see my Disclaimer.


That is such a smart trick to top off your garden beds with a few inches of new material every year. It’s crazy how fast the soil settles and becomes depleted! Also, I loved your tip for creating a mini greenhouse effect using cloches. Brilliant!!
Thank you, Heidi, the cloche/greenhouse was something I’ve only started doing recently but it makes such a difference!
What a beautifully detailed and practical guide, Lisa! Your passion for gardening shines through, and the step-by-step approach makes it so beginner-friendly. I especially loved your tips on succession planting and edible flowers.
Thank you so much, that’s very kind, I’m glad you found the article helpful.